
Organize partners into groups
Create partner groups so different partners earn different commission rates under one program.
Every commission in Affitor is set per partner group: the group a partner belongs to decides their commission rate and duration. The hold period is set once for the whole program and applies to every group. This guide shows you how to create a group, set its policy, and move partners into it — so you can run a VIP tier next to your standard rate without per-partner bookkeeping.
The flow at a glance
Create a partner group
Set the group's commission policy
Move partners into the group
Every program has a Default group; partners you haven't assigned elsewhere belong to it. Creating a second group is how you introduce a second rate.
Step 1: Create a partner group
A group is a pricing tier, not a folder. Create one for each set of terms you offer — for example, Default at your standard rate and VIP at a higher rate for your best-performing partners.
- In the sidebar, open Groups.
- Click Create Group.
- Name the group after the terms it represents —
VIP,Agencies,Newsletter partners— and save.
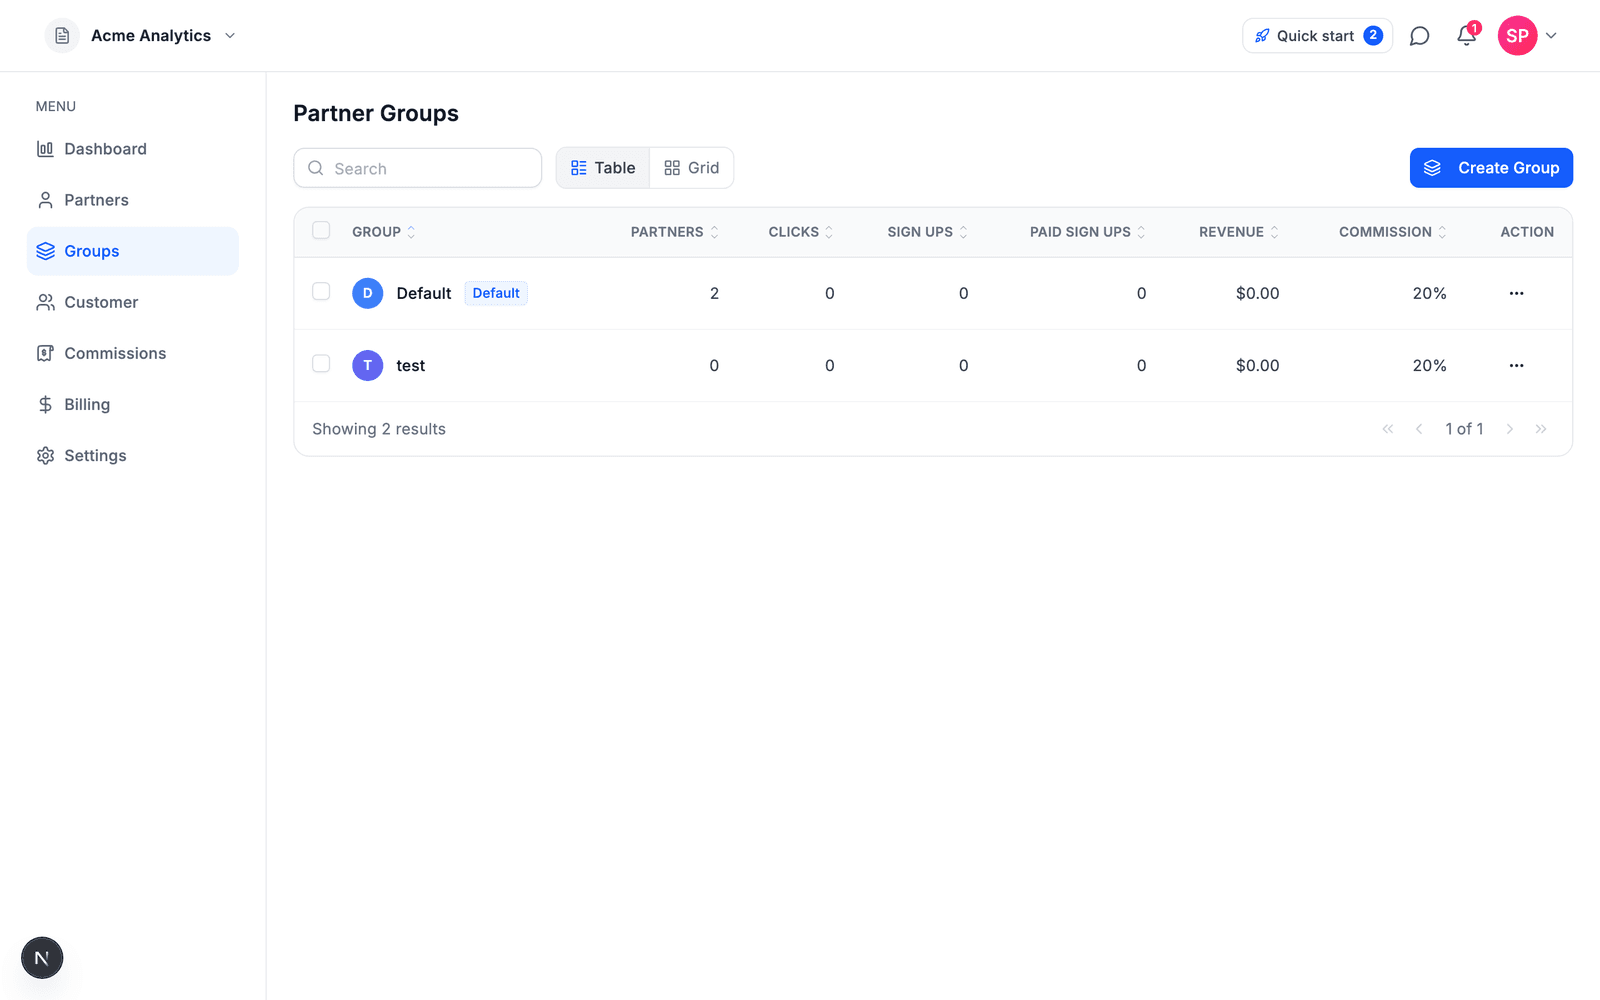
The new group appears as a row in the Partner Groups list, with its own partner count, performance columns, and commission rate:
Step 2: Set the group's commission policy
The policy is the contract every member of the group earns under. Open the new group's row menu (⋯) in the Groups list and edit its policy. The policy sets the group's commission rate: what members earn per attributed result. Rate types and durations work exactly as described in Set your commission; a group simply carries its own values.
Two settings are not part of a group's policy. They are set once for the whole program and apply to every group in it:
- Hold period — how long a new commission stays on hold before it can clear. Set it under Commission in program settings. Longer holds reduce refund risk; see commission approval and cash flow.
- Commission approval — there is no per-group approval mode. A commission approves automatically when the program's hold period ends, unless you approve, reject, or extend the hold on it first from the Commissions page. The Approval mode in program settings is for partner applications, not commissions.
Set the policy before you move anyone in. Partners in the group earn whatever the policy says at the moment their sales are attributed — there is no separate "apply" step.
Step 3: Move partners into the group
Partners earn their group's rate, so moving a partner is how you change what they earn — no per-partner rate fields to maintain.
- Open Partners in the sidebar.
- Find the partner you want to move and open their row's action menu.
- Choose the change-group action. The Change Partner Group dialog opens.
- Select the destination group and confirm.
From their next attributed sale, the partner's commissions are created under the new group's policy. Commissions created before the move are not rewritten.
Group policies are versioned. When you edit a group's commission terms, the update is recorded as a new policy version, and the previous version is preserved in the policy chain. That lets you change terms without rewriting history: existing commissions stay tied to the policy that was in effect when they were created, so your books stay auditable.
Verify it worked
The proof is a commission at the new rate. After a partner in the group drives a sale (or you run a test conversion), check the dashboard:
- The Groups list shows the new group with the correct commission rate and a non-zero partner count
- On the Commissions page, the newest commission from a partner in the group shows the group's rate — not the Default rate
- Reopen the group's policy in Groups and confirm the rate and duration saved
- Check the partner's current group on the Partners page — commissions follow the group the partner was in when the sale was attributed
- Remember that commissions created before the move keep their original policy; only new activity uses the new group's terms